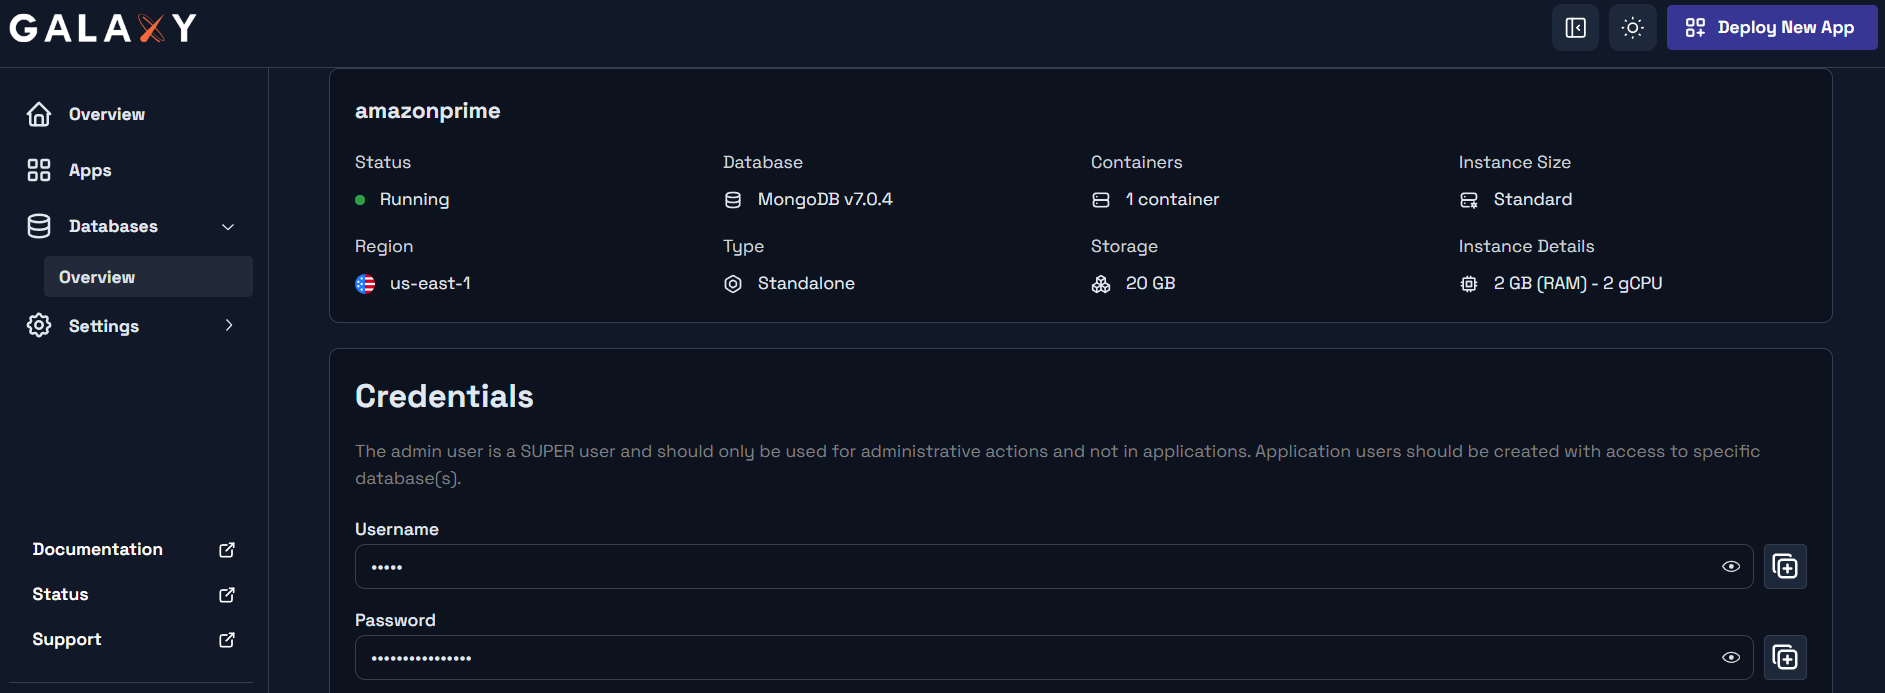
MongoDB - Simplify migration to Galaxy Database
Usage
Prerequisites
Before using this Docker image, make sure you have the following:
- Docker installed on your machine.
- Source and target MongoDB URIs ready and tested.
- IP whitelist configured on MongoDB Atlas if applicable.
Step-by-Step Guide
Get the MongoDB URIs
- Obtain the source MongoDB URI in the format:
mongodb+srv://<username>:<password>@<source-cluster> - Get the MongoDB target URI from the Galaxy Database team in the format:
mongodb://<username>:<password>@<destination-host>:<port>

Run the Docker Container
Use the following command to run the migration container:
docker run --rm \
  -e SOURCE_URI="" \
  -e TARGET_URI="" \
  -e DB_NAME="example_db_name" \
  meteor/galaxy-mongodb-migrate:202405222003
Replace SOURCE_URI, TARGET_URI, and DB_NAME with your actual values.
Example
docker run --rm \
  -e SOURCE_URI="mongodb+srv://username:password@source-cluster.mongodb.net" \
  -e TARGET_URI="mongodb://username:password@destination-host-01.mongodb.net:27017,destination-host-02.mongodb.net:27017,destination-host-03.mongodb.net:27017/admin?replicaSet=replicaSetName" \
  -e DB_NAME="example_db_name" \
  meteor/galaxy-mongodb-migrate:202405222003
Creating User for the Database
We recommend creating a new user specifically for the database after migration to enhance security and access control.
Recommended Steps
Database Migration: Execute the database migration ensuring all data is successfully transferred to the new environment.
Connect to the Destination Database: Use our compass guide on connecting to MongoDB.
Select the Database: Select the migrated database (e.g.,
use example_db_name).Create the New User: Create a new user specific to this database. For example:
   db.createUser({
     user: "newuser",
     pwd: "<new-secure-password>",
     roles: ["readWrite"]
   })
Replace <new-secure-password> with the password for the new user.
Verify the New User: Ensure the new user has been successfully created:
db.getUsers()
Now you can use a URI like this in your Meteor app:
mongodb://newuser:pass@destination-host-01.mongodb.net:27017,destination-host-02.mongodb.net:27017,destination-host-03.mongodb.net:27017/example_db_name?replicaSet=NameOfYourReplicaSet&readPreference=secondary
Security Considerations
- Use secure passwords for your users.
- Assign only necessary permissions.
- Regularly review user privileges.
Troubleshooting
- Check connection details and permissions.
- Review logs for errors.
Users
To effectively manage your MongoDB cluster, the Galaxy Database team sets up several MongoDB users within your clusters:
- admin@admin: Initial user with administrative privileges.
- galaxyadmin@admin: Technical user required for automation.
- galaxybackup@admin: User designated for performing backups.
- galaxymonitor@admin: User used for monitoring.
Please do not delete these users.
Creating a MongoDB user for Oplog
To set up an oplog user, configure a MongoDB replica set:
Connect to your database using our compass guide.
Open your console and run:
   db.createUser({
     user: "oplogger",
     pwd: "PasswordForOplogger",
     roles: [{ role: "read", db: "local" }]
   })
The oplog user must be created in the admin database with read permissions to the local database.
Your new MongoDB connection string will be:
mongodb://oplogger:PasswordForOplogger@mongo-1.example.com,mongo-2.example.com,mongo-3.example.com/local?authSource=admin&replicaSet=replicaSetName
Ensure authSource=admin is included at the end.
Support
For migrations without downtime, contact our team at sales@meteor.com.
This documentation provides a comprehensive guide for using Docker to migrate MongoDB databases to Galaxy Databases, along with best practices for creating and managing users post-migration.
